Back Office
Dashboard, Users & S.T.E.A.M.
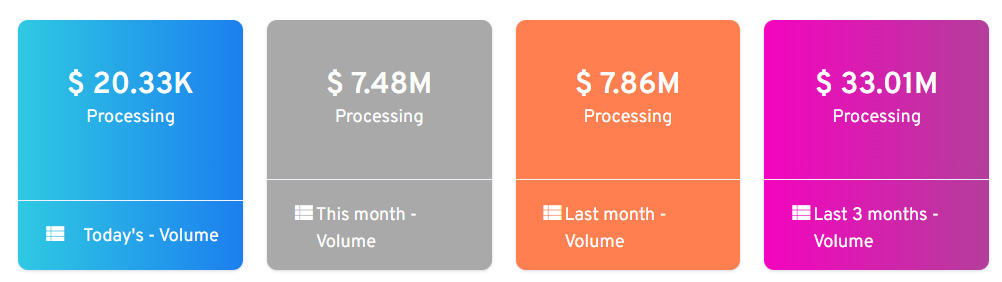
The iPOSpays back office puts you in control. Manage all your transactions, batches, and reports in one convenient location, no matter how many terminals or locations you have. Easily handle user permissions, support tickets, customer profiles, QuickBooks settings, and more—all from a single dashboard.
To get started, a merchant will receive an activation email from Dejavoo that will contain a link for them to follow. This will allow them to set up their account and be on their way to managing their back office.
group_add
User Management
The “User Management” section gives you complete control over your iPOSpays users. View existing users, add new ones, manage permissions, track activation, and modify details.
How to Add a User:
- Click User Management on the left-hand menu.
- Click the three lines (top left) and select Add User.
- Fill in details and choose a role:
- Merchant Admin: Full access.
- Merchant Operator: All actions except managing users.
- Multi-Store Manager: Access limited to assigned locations.
- Store Manager: Access limited to a single location.
- Click Submit. The user receives an activation email.
tune
S.T.E.A.M.
Customize your terminals in the S.T.E.A.M. section! View details and adjust settings for receipts, tips, transactions, batches, surveys, tagging, and QR codes. Select your terminal and click Edit Parameter to get started.
For advanced settings like pin pad configuration or fee adjustments, call support at 800-605-4881.
Transactions & Batches
receipt_long
Transactions
The Transactions section provides a centralized view of all your sales, refunds, voids, and pre-authorizations. Filter transactions, export the data, and even view or process refunds and voids—all in one place.
Quick Tip: Voids are processed immediately, while refunds can take a few days depending on the customer’s bank.
folder_open
Batches
Managing your batches is a breeze with iPOSpays. Effortlessly view reports, adjust tips, and close batches online. Simply toggle between open and closed batches, and click “View Summary” to see all the details.
To close your batch:
- Log in and click Batches.
- Select your location and terminal.
- To add tips: Click View Batch > Tip Management > Adjust Tip. Enter amounts and click Adjust Tips.
- Click Settle Batch.
My Customers
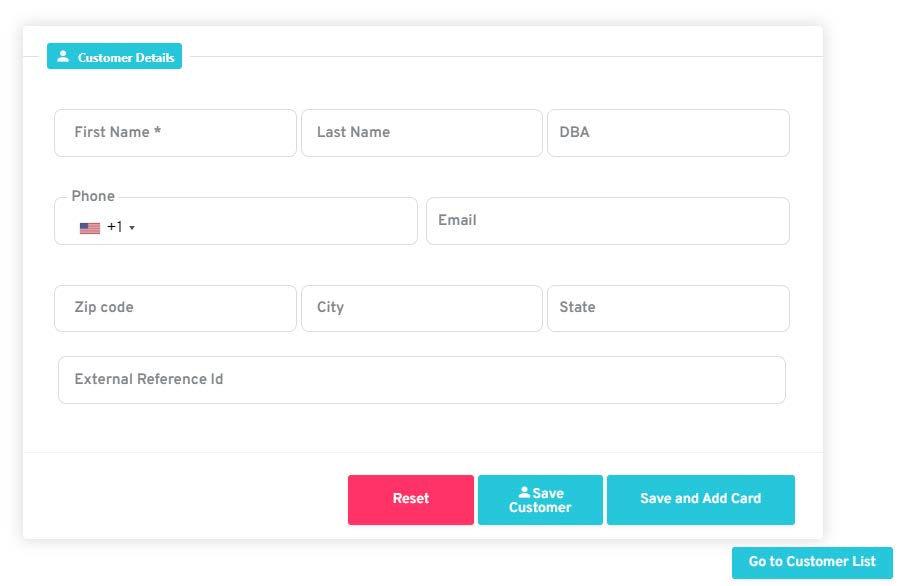
Want to keep track of your customers and their payment information? The “My Customers” section makes it easy! Even better, it automatically adds customer details to your list whenever you process a payment with their email address or phone number attached. No more manual entry!
Key Features:
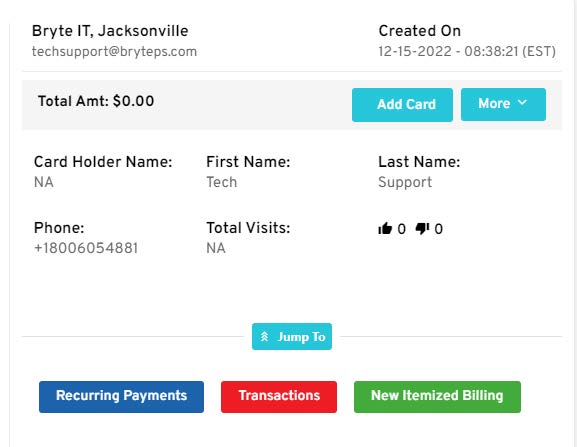
- View Details: See total spending, last visit date, and more.
- Manage Cards: Store multiple cards on file securely.
- Recurring Payments: Automate billing for subscriptions or memberships.
- Send Payment Links: Request payments quickly via email/text.
- Invoicing: Generate professional invoices.
To add a new customer manually, click the menu (three lines), select “Add Customer,” and fill in their info. To edit or delete, select them from the list and use the “More” menu.